Printable Stickers
Printable Sticker Mistakes to Avoid When Making Seasonal Labels
Always run a test print on standard draft paper before loading specialty adhesive vinyl into your printer tray. November crafting projects demand extra care with drying times and ink saturation, especially as we prepare handmade labels and gift seals for the coming holidays. I have gathered the most common stumbling blocks that ruin sheets and waste supplies, alongside the straightforward adjustments that keep your prints crisp and durable.
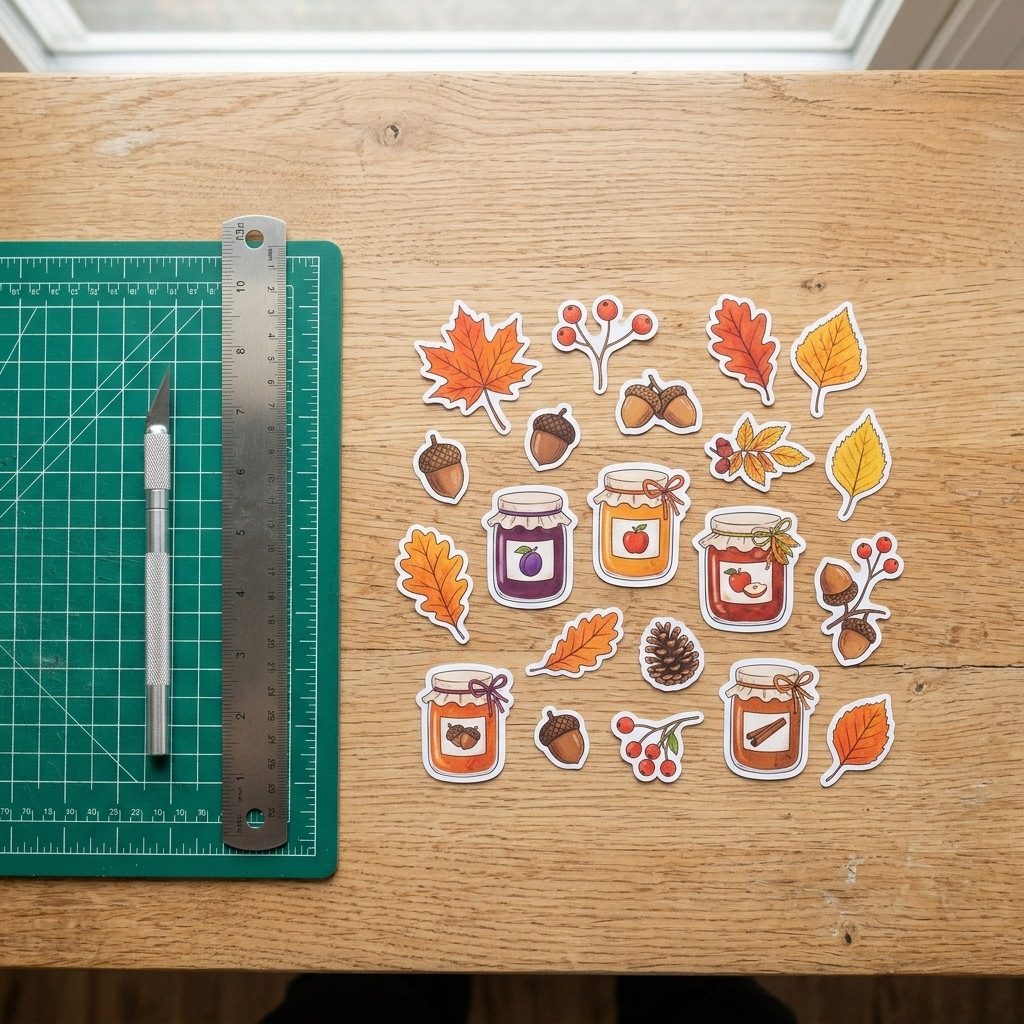
Choosing the Wrong Media Setting in Print Dialogs
Setting your printer to plain paper when feeding glossy or matte sticker stock floods the surface with excess ink that pools instead of binding. I always select high-resolution paper or matte photo paper in the advanced print settings to slow down the print head movement and deposit controlled micro-droplets. This single adjustment prevents smearing and significantly reduces your required drying time.
Skipping the Cold Laminate Overlay for Moisture Defense
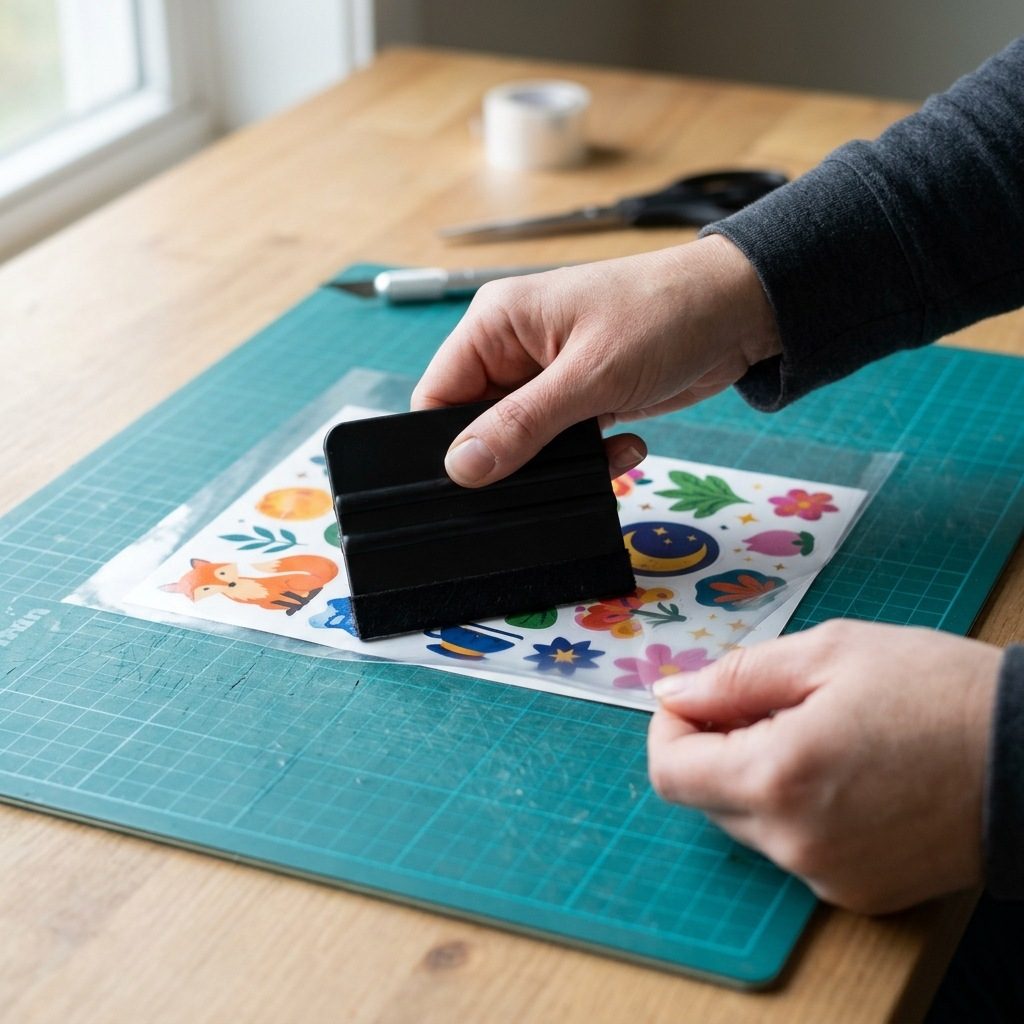
Paper sticker sheets absorb ambient kitchen humidity and natural oils from hands during late-autumn holiday baking and gift packaging. Applying a self-adhesive cold laminate sheet over the printed surface creates a permanent barrier against moisture, scuffs, and fading. Smooth the clear film down using a firm felt-edged squeegee in steady, overlapping strokes to push air bubbles outward before making any cuts.
Cutting Without Adding an Exterior Color Bleed
Electronic cutting machines and manual hole punches inevitably drift by fractions of a millimeter across a full sheet. If you leave your artwork bounded strictly by the cut path, that tiny physical shift creates distracting white slivers along the sticker perimeter. I always generate a solid color bleed of two to three millimeters beyond the intended cut line so every finished edge appears crisp and fully saturated.
Relying on Default Blade Depth for Kiss Cuts
Standard machine presets rarely account for the combined thickness of modern sticker paper and an added protective laminate layer. Running an uncalibrated blade either slices completely through the backing sheet or scores only the laminate, making peeling nearly impossible. I test small concentric shapes in the margin of the sheet to ensure the blade cuts clean through the adhesive film while leaving the wax liner intact.
Handling Sheets Before the Ink Fully Cures
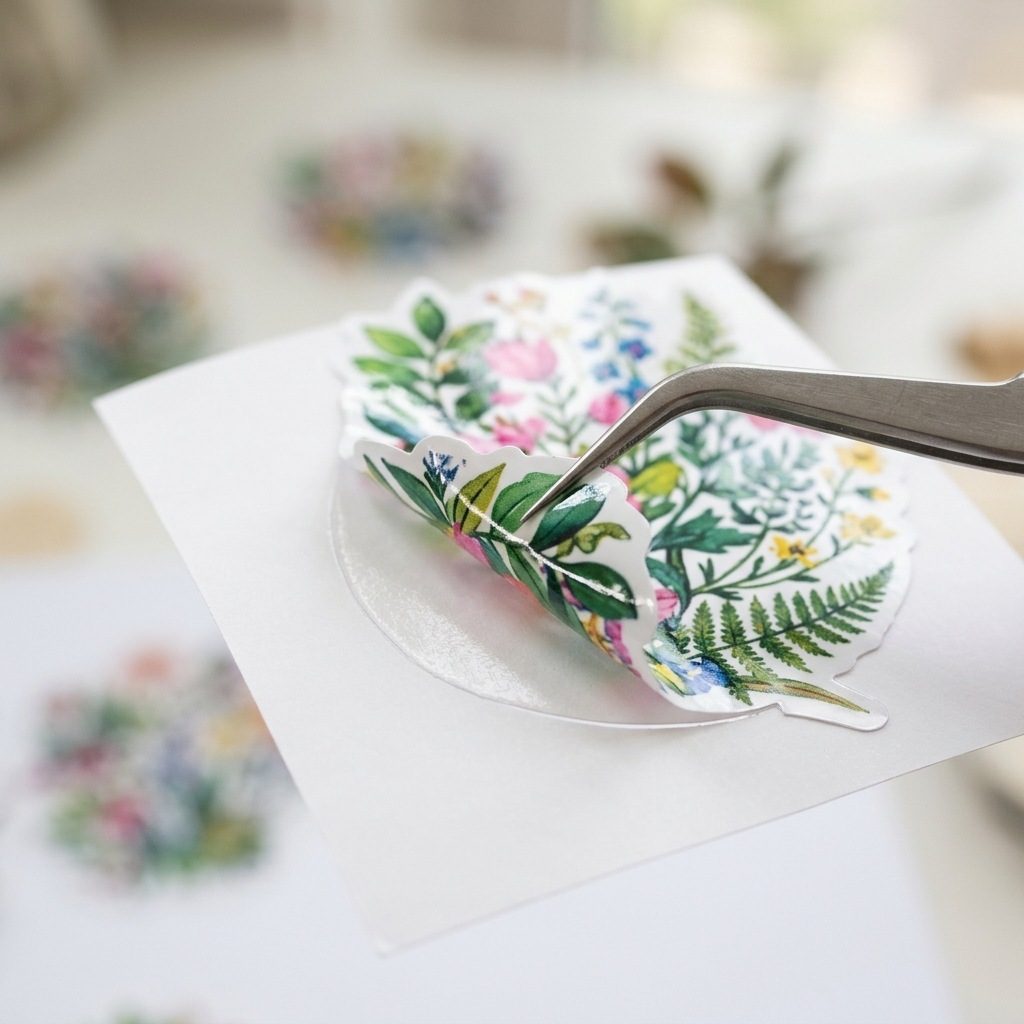
Cooler indoor room temperatures in late autumn slow the evaporation rate of liquid carriers on coated sticker vinyl. Even if a sheet feels dry to a light touch after printing, the ink beneath the surface remains vulnerable to smudging during lamination or cutting. I let freshly printed sticker sheets sit flat on an open drying rack for at least forty minutes before proceeding to laminate or trim them.
Taking the time to calibrate your tools and respect material cure times ensures every batch of seasonal stickers turns out clean and professional. With these small adjustments in place, your handmade envelopes, gift wraps, and pantry jars will look polished from the very first sheet.